Showing posts with label DIY. Show all posts

Thursday, March 7, 2013

How to Paint Campaign Furniture

Happy Thursday everyone!

I wanted to follow up on my last post regarding the campaign desk.  I already showed you how to clean brass hardware a week ago.

Now, I wish I could take credit for transforming this chest, but I can't.  I always have good intentions when it comes to painting, but then 5 minutes into it, I remember how much I hate it, and that's usually the time I start cursing in my head - or more realistically, out loud.  Thankfully, I have an amazing husband, Andrew, who's gotten pretty handy since we bought our house.  He's the guy who enjoys waking up at 6 a.m. on weekends to just wander the aisles at Lowe's or Home Depot to figure out his next DIY project.  You can't make this stuff up.

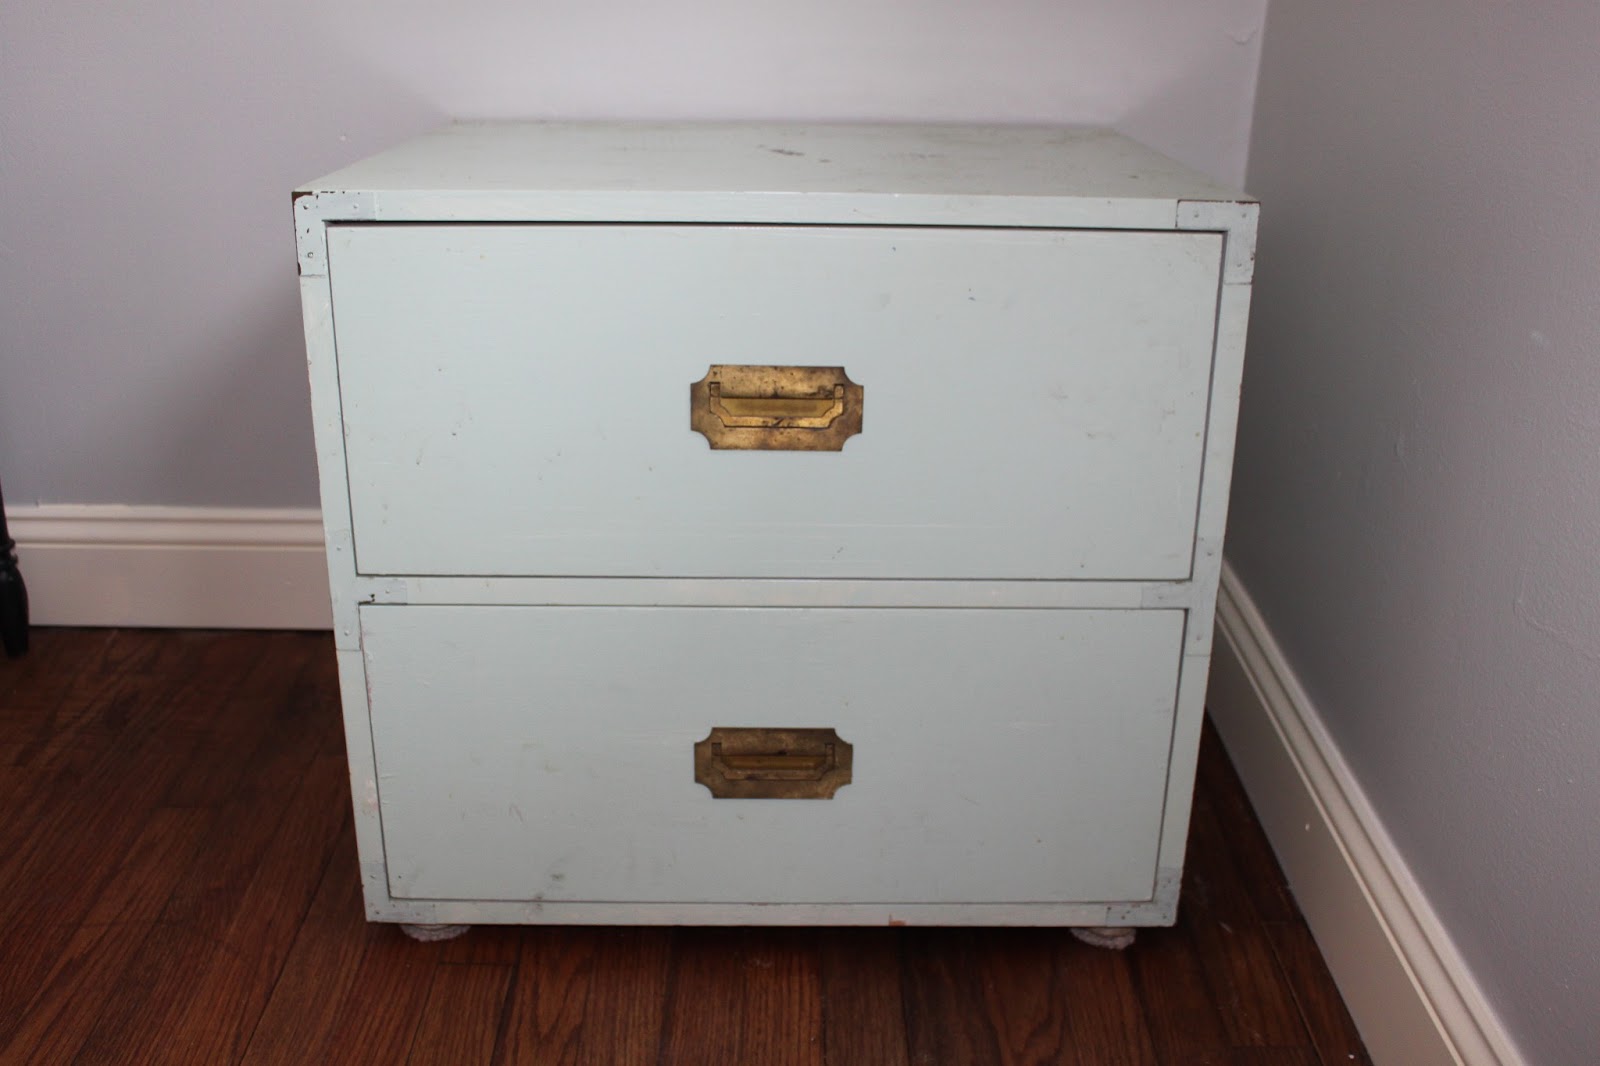
Let's reflect on the hot mess we started with:
Sooo gorgeous, right?!

So let's get to the good stuff already, here's how he refinished the piece:

First, remove all the hardware.
Next, use a paint stripper on the entire chest following instructions on the can. Klean-Strip worked well - use a mask though and do it in a well-ventilated space.

Fill any dents or deep scratches with wood-fill. This one is my favorite.

The chest was really short (only 22" high) and Lauren wanted it to be the same height as her desk, so I added these 8 inch parsons legs from Lowe's.  I also had to add additional wood on the base for better support (it was pretty flimsy).

Now, this is where it can get tedious, but it's all worth it...

Sand all surfaces with 100 grit sandpaper, then prime the entire piece including drawers with Zinsser Bulls Eye 1-2-3 Primer (they sell this primer in gallons too).
Sand again with 220 grit sandpaper, and prime again with the spray primer.  Sand one more time with 220 grit paper.  This chest looked like it had been painted at least three different colors over the years, so I decided to start fresh and sand it down completely to raw wood.

Once that's done, wipe everything down with damp rag and tack cloth to get the dust off the surfaces. Finally it was ready for paint.

Originally I bought a gallon of Rust-Oleum's Gloss Smoke Gray Enamel, but I returned for the spray paint version - it goes on really fast.  If you're spraying, make sure your first coat is thin.

Let that dry and then lightly sand with steel wool (0000/very fine).

Wipe down again with your tack cloth to remove any additional dust.

Spray again with the smoke gray paint.

Let dry completely (24+ hours). 

Add your hardware again and put the drawers back in. 

Here are some before and after shots:
One last minute design change I decided on after seeing it here was to use furniture nails instead of the tiny finishing screws.
So what do you think?  Much improved, right?  I'm so happy with how it turned out and it's been getting lots of use! I can't wait to share my office space with you soon -- I'm just trying to finish up some last minute details!

XOXO,
Lauren

Let’s be friends - Pinterest / Twitter / Facebook / Instagram

Thursday, February 28, 2013

How to Clean Brass Campaign Hardware

Hi lovely readers, Lauren here!

So I have a confession…for the last 3½ years I've been living in my house, (affectionately called “The Ranch”) I’ve worked from home every day at our dining room table.  We have a perfectly fine empty third bedroom too that we’ve always referred to as the office, yet from the beginning, it turned into more of a dumping ground for random stuff - someone please tell me they have one of these rooms in their home...I know we had one growing up!

Over the last month, I’ve finally been motivated to address this disaster area and make it a usable working space, but you obviously can't have a home office without some furniture.

Now I'm lucky in that I have a huge extended family so typically whenever someone has an old piece of furniture they want to get rid of – they usually offer it up.  One thing I scored a few summers ago was an old campaign chest from my aunt who no longer wanted it.  It had seen better days to say the least, but it was love at first site! Ever since I saw this green campaign dresser in Lonny three years ago, I became obsessed (along with a million other people I know) and knew I had to have one. 
[via]

The desk I'll be using in the office isn't large enough to hold my printer or scanner - things I use regularly, so I'll be using the chest for added storage space.

So without further ado, here's my (before) campaign chest:
As you can see the brass corner brackets had been painted over and it needed seriously TLC...
 The top of the chest:
First thing was first – taking off the hardware for cleaning. The corner brackets came off easily when pried with a flat head screwdriver and the pulls unscrewed with a Phillips head screwdriver.

Here are the pulls:

The only brass cleaner available at my grocery store was Wright's Brass Polish so I gave it a shot.
 After pouring it on, I worked it in with an old toothbrush.
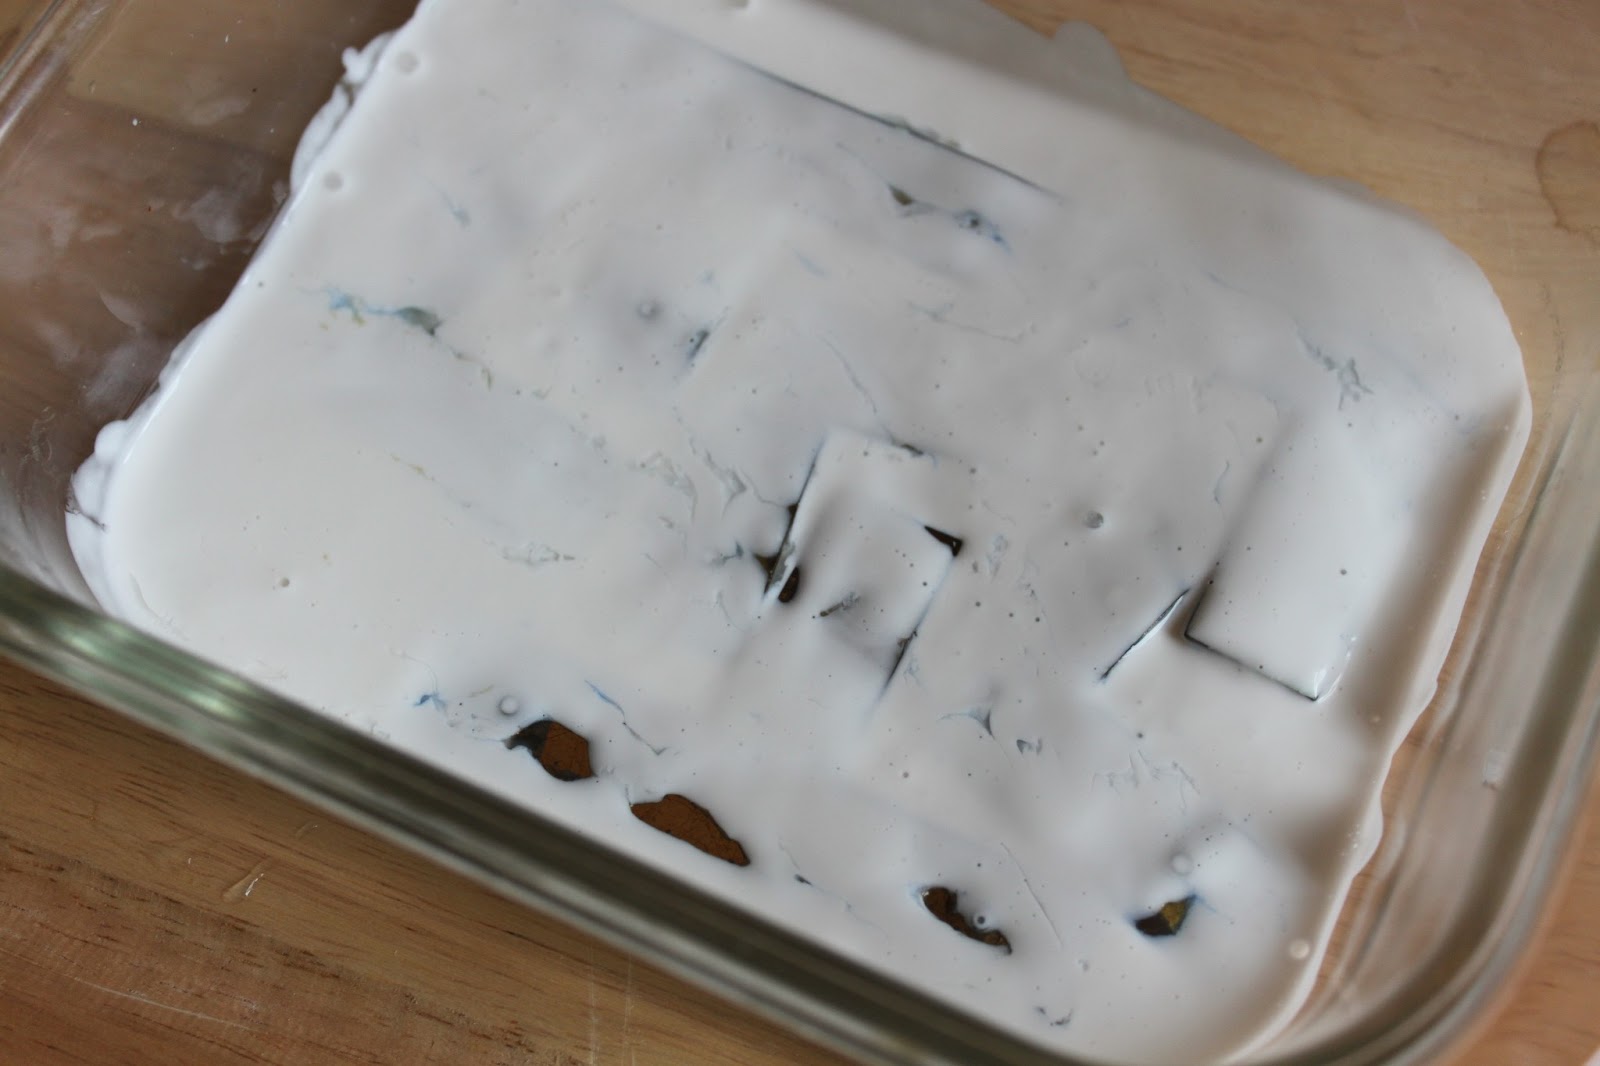
When I rinsed them off, they looked better, but still seemed dull, so I decided to give the polish another go.  I put the pulls face down in a container filled with the polish and let that sit while I started tackling the painted brackets.

So how exactly do you strip old paint off of brass safely and effectively?
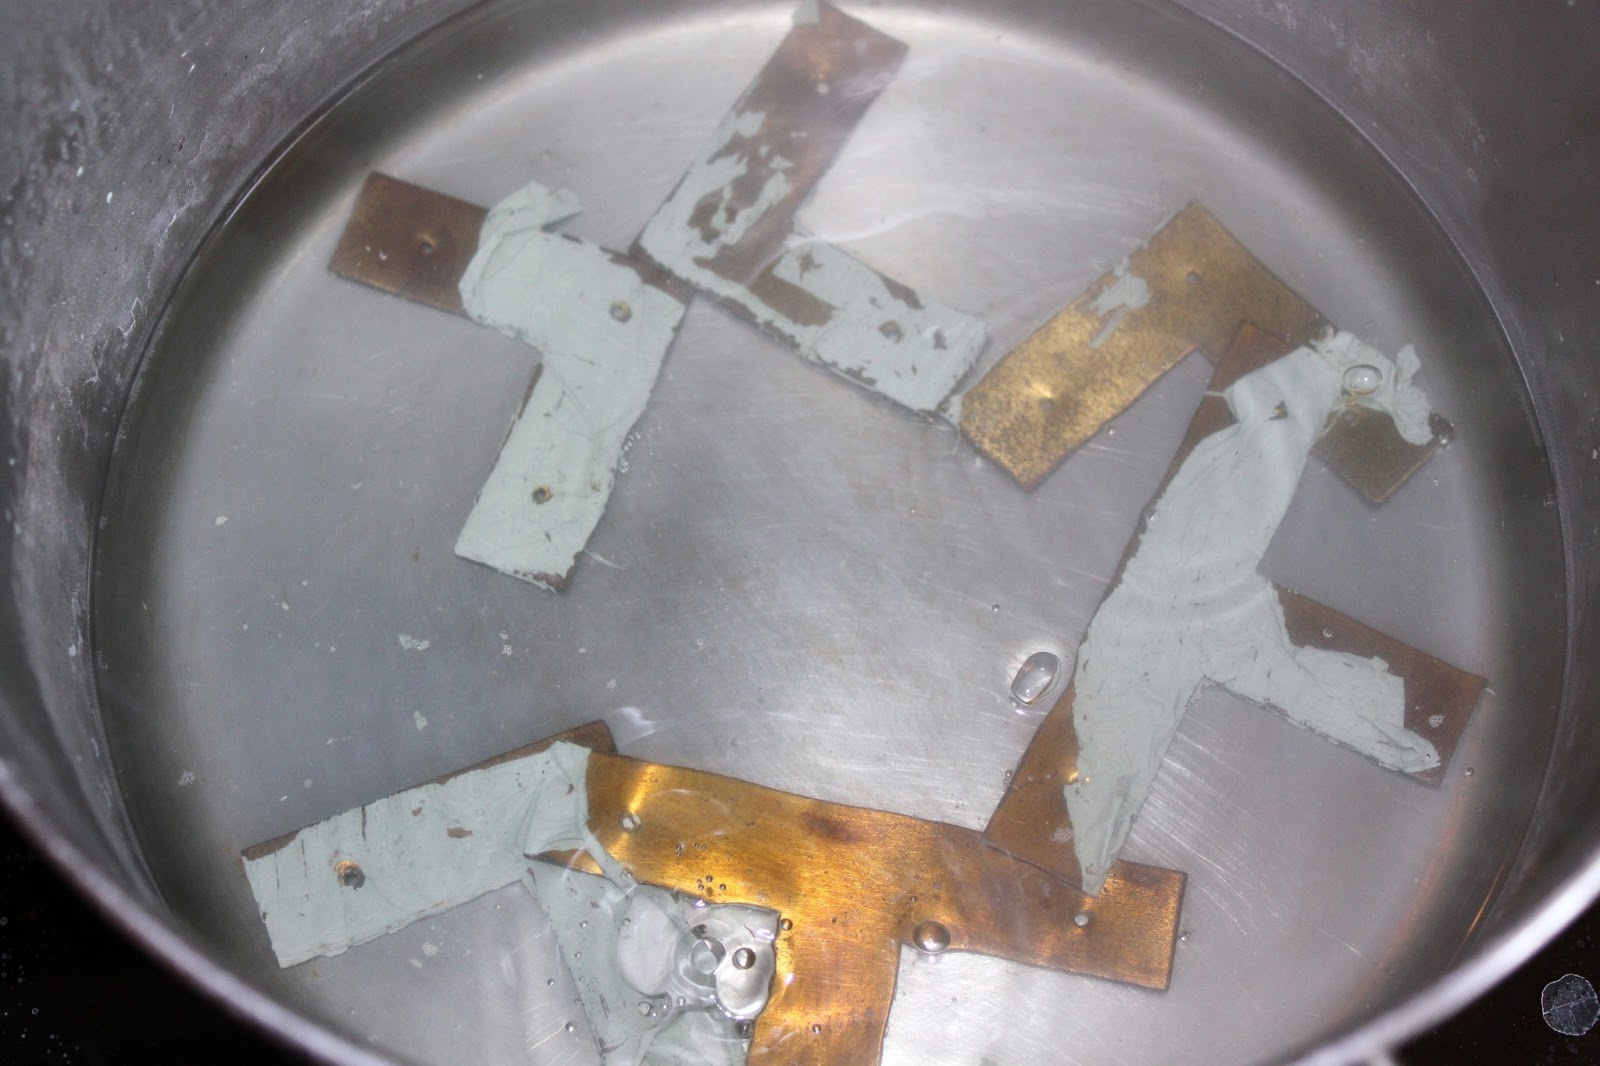
I didn't want to use a crazy chemical stripper so I decided to try the boiling water & baking soda method first.

It's very easy -- just put your hardware into a pot on your stove filled with one quart of water and 1/4 cup baking soda. Bring to boil and keep it going for 20 minutes.

After 15 or 20 minutes, you'll notice the paint pretty much peels off itself...
I drained the pot and was left with this...
The remaining paint easily came right off, but as you can see they desperately needed polishing too...
So into a bath of Wright's Brass Polish they went!
After about 15 minutes, I scrubbed them all again with my toothbrush, this was the finished product!
The brackets were restored to a beautiful golden hue and while the pulls still have some imperfections here and there due to age, they look so much better than before!

Here's a sneak peek of the finished product...
Next week, I'll share all the details on refinishing it!

XOXO,
Lauren

Let’s be friends - Pinterest / Twitter / Facebook / Instagram
Blogging tips