
I wanted to follow up on my last post regarding the campaign desk. I already showed you how to clean brass hardware a week ago.
Now, I wish I could take credit for transforming this chest, but I can't. I always have good intentions when it comes to painting, but then 5 minutes into it, I remember how much I hate it, and that's usually the time I start cursing in my head - or more realistically, out loud. Thankfully, I have an amazing husband, Andrew, who's gotten pretty handy since we bought our house. He's the guy who enjoys waking up at 6 a.m. on weekends to just wander the aisles at Lowe's or Home Depot to figure out his next DIY project. You can't make this stuff up.
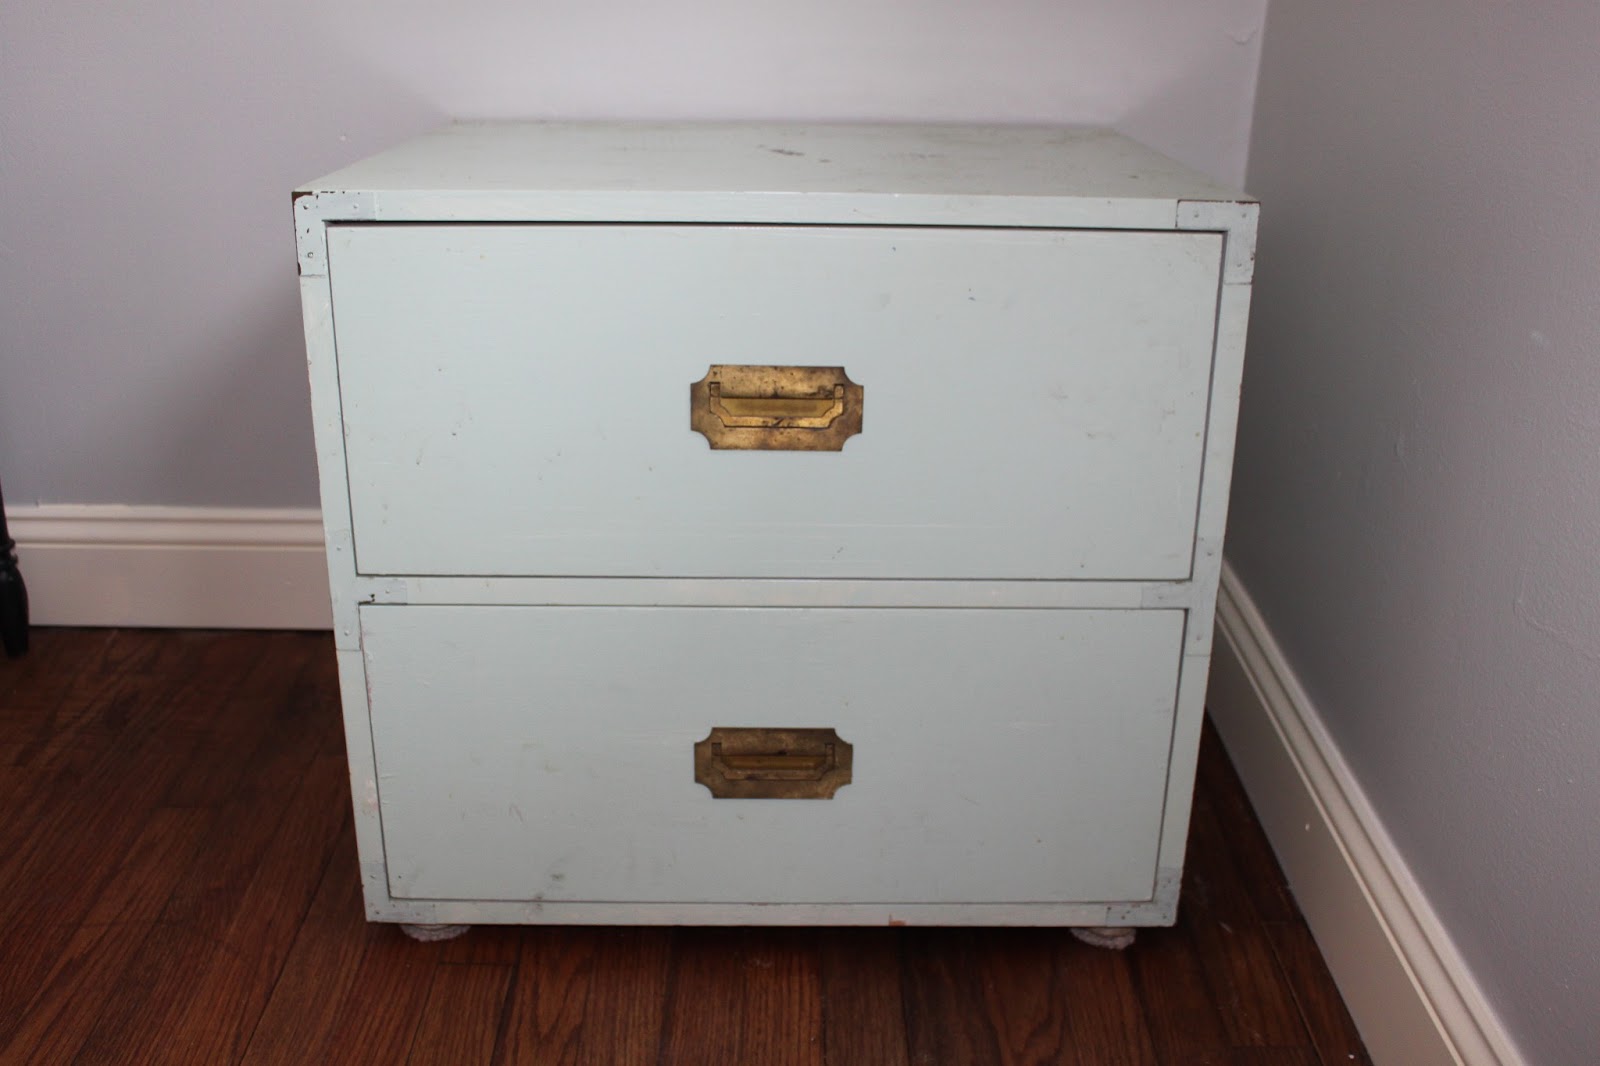
Let's reflect on the hot mess we started with:

So let's get to the good stuff already, here's how he refinished the piece:
First, remove all the hardware.

Next, use a paint stripper on the entire chest following
instructions on the can. Klean-Strip worked well - use a mask though and do it in a well-ventilated space.
The chest was really short (only 22" high) and Lauren wanted it to be the same height as her desk, so I added these 8 inch parsons legs from Lowe's. I also had to add additional wood on the base for better support (it was pretty flimsy).
Now, this is where it can get tedious, but it's all worth it...
Sand all surfaces with 100 grit sandpaper, then prime the entire piece including drawers with Zinsser Bulls Eye 1-2-3 Primer (they sell this primer in gallons too).

Sand again with 220 grit sandpaper, and prime again with the spray primer. Sand one more time with 220 grit paper. This chest looked like it had been painted at least three different colors over the years, so I decided to start fresh and sand it down completely to raw wood.
Once that's done, wipe everything down with damp rag and tack cloth to get the dust off the surfaces. Finally it was ready for paint.
Originally I bought a gallon of Rust-Oleum's Gloss Smoke Gray Enamel, but I returned for the spray paint version - it goes on really fast. If you're spraying, make sure your first coat is thin.
Let that dry and then lightly sand with steel wool (0000/very
fine).
Wipe down again with your tack cloth to remove any additional dust.
Spray again with the smoke gray paint.
Let dry completely (24+ hours).
Add your hardware again and put the drawers back in.
Here are some before and after shots:


One last minute design change I decided on after seeing it here was to use furniture nails instead of the tiny finishing screws.

So what do you think? Much improved, right? I'm so happy with how it turned out and it's been getting lots of use! I can't wait to share my office space with you soon -- I'm just trying to finish up some last minute details!
XOXO,
Lauren
No comments:
Post a Comment